
BIOS boot loader configuration screen
Fix #4: Replace NTLDR and NTDETECT.COM files
Windows XP users can replace the required files for NTLDR to load correctly by using your Windows Installation Disc. The files are named NTLDR and NTDETECT.COM.
Here are the steps to replace these files:
- Insert the Windows XP install CD
- Restart the computer and boot from the CD
- Press any key to boot from the CD
- Press R when the Windows Options menu is loaded to access Repair Console
- After this step, log into Windows by pressing 1 using the Administrator password
- Use the following commands to copy the NTLDR and NTDETECT.COM files from the Windows installation disk to the hard disk:
copy D:\i386\ntldr C:\
copy D:\i386\ntdetect.com C:\
WhereD:\is the install CD’s drive letter andC:\is the Windows XP partition’s drive letter - Once these files are copied, remove the Windows installation disc from the disc drive
- Restart the PC
Here is an example of what the PC’s console output should look like once NTLDR and NTDETECT files are restored correctly:
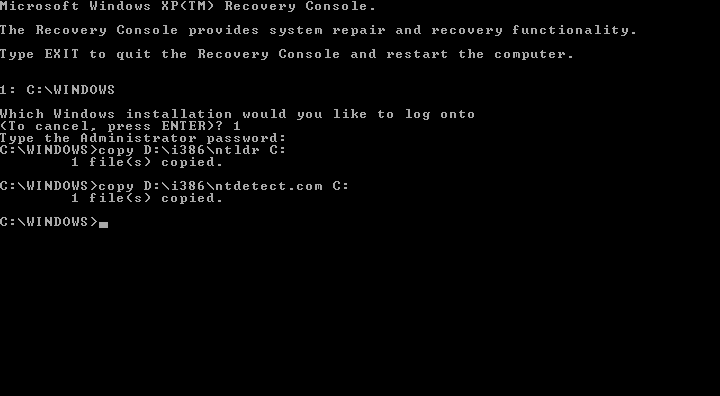
Replacing ntldr and ntdetect.com files
Fix #5: Rebuild boot.ini file
The next steps are to rebuild the
boot.ini file:- Insert the Windows XP install CD
- Restart the computer and boot from the CD
- Press any key to boot from the CD
- Press R when the Windows Options menu is loaded to access Repair Console
- After this step, log into Windows by pressing 1 using the Administrator password
- Use the following command when Command Prompt appears:
bootcfg /rebuild
- When the systems prompts you about adding an identified Windows installation to the boot list, answer “Y”(Yes)
- Enter “Windows XP” as Load Identifier and “/fastdetect” as OS Load Options.
- Remove the install CD
- Restart your computer
Here is an example of what the PC’s console output should look like once the boot.ini file is properly restored:
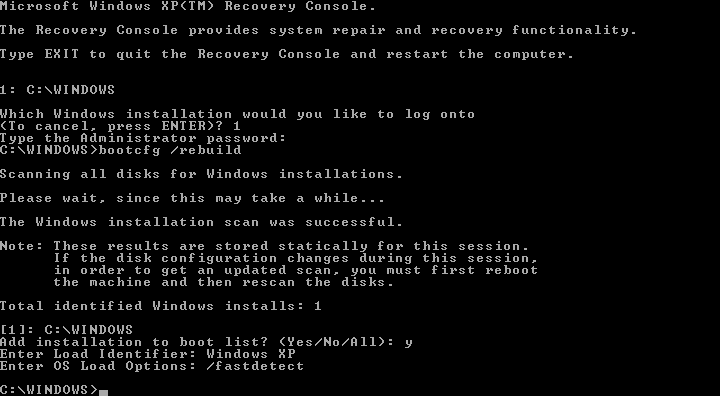
Fixing Boot.ini file
Fix #6: Change the bootsector code
On Windows Vista, Windows 7, Windows 8, Windows 8.1, or Windows 10 this error can be fixed by writing a correct BOOTMGR-related boot sector code to the bootable partition.
Here are the steps to write a correct boot sector:
- Insert the Windows Vista(or any newer version) install CD
- Restart the computer and boot from the CD
- Press any key to boot from the CD
- Click on Repair your computer after selecting proper language, time and keyboard input.
- Select the Windows installation drive, which is usually C:\, and click Next
- Choose Command Prompt when the System Recovery Options box appears
- Write the following command and press s Enter afterwards:
bootcfg /rebuild
- If the program finds a Windows installation and asks whether it should add it to the boot list, press Y
- Remove the install CD
- Restart your computer
Here is an example of what the PC’s console output should look like once a boot sector is written correctly:
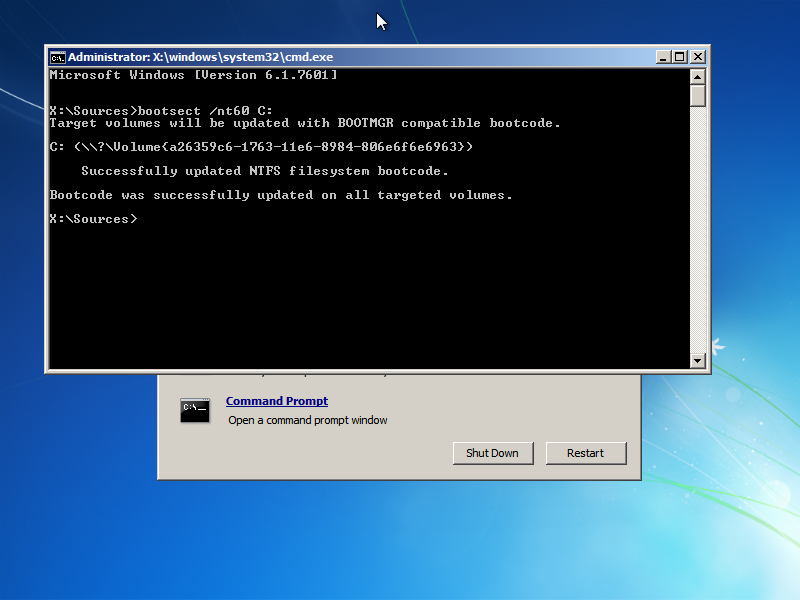
Writing a correct bootsect code
Fix #7: Delete excess files from root folder
If the PC’s operating system is an old version of Windows XP or Windows 2000 and it has too many files stored in the root folder, booting into the Repair Console from a Windows Installation disk and deleting the files from there is a possible solution.
Here are the steps to delete files from repair console:
- Insert the Windows XP install CD
- Restart the computer and boot from the CD
- Press any key to boot from the CD
- Press R when the Windows Options menu is loaded to access Repair Console
- After this step, log into Windows by pressing 1 using the Administrator password
- Enter the following command when Command Prompt appears to move to the root folder from the default C:\Windows folder:
cd ..
- Enter the following command to display all files in the root folder
dir
- Then, enter the following command to delete the file:
del [filename]
Where [filename] is the name of the file to be deleted - Remove the install CD
- Restart the PC
Here is an example of what the PC’s console output should look like after a single file is deleted from the root directory:
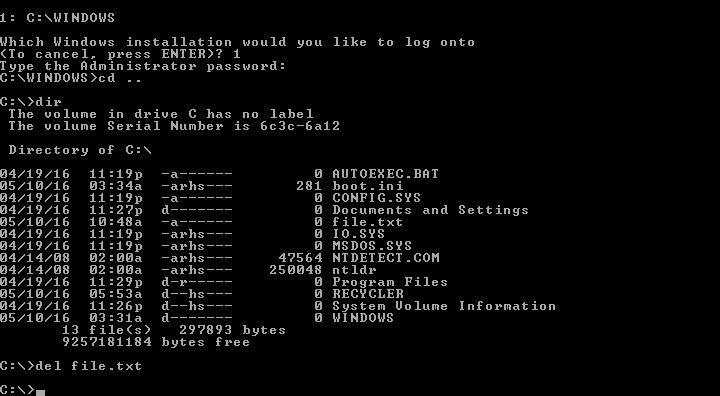
Deleting a file from command line
Note that the Windows XP recovery console does not support mass file deletion in the recovery console, so manual file deletion may be a very long and tedious process if there is a lot of them. If that’s the case, it is possible to load from a more modern Windows CD, and use the
del *.* /A-S-H
command to delete all files in the current folder that are not hidden or system files:
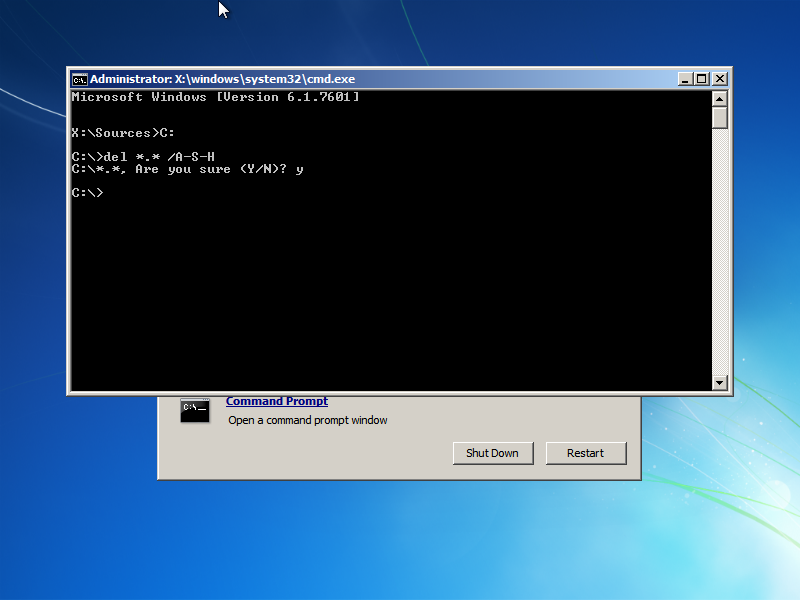
Deleting multiple files


0 comments:
Post a Comment